Understanding the Risks of Data Loss on SD Cards
SD cards are widely used for storing important data, but they come with inherent risks that can lead to data loss. It’s crucial to understand these risks so you can take preventive measures.
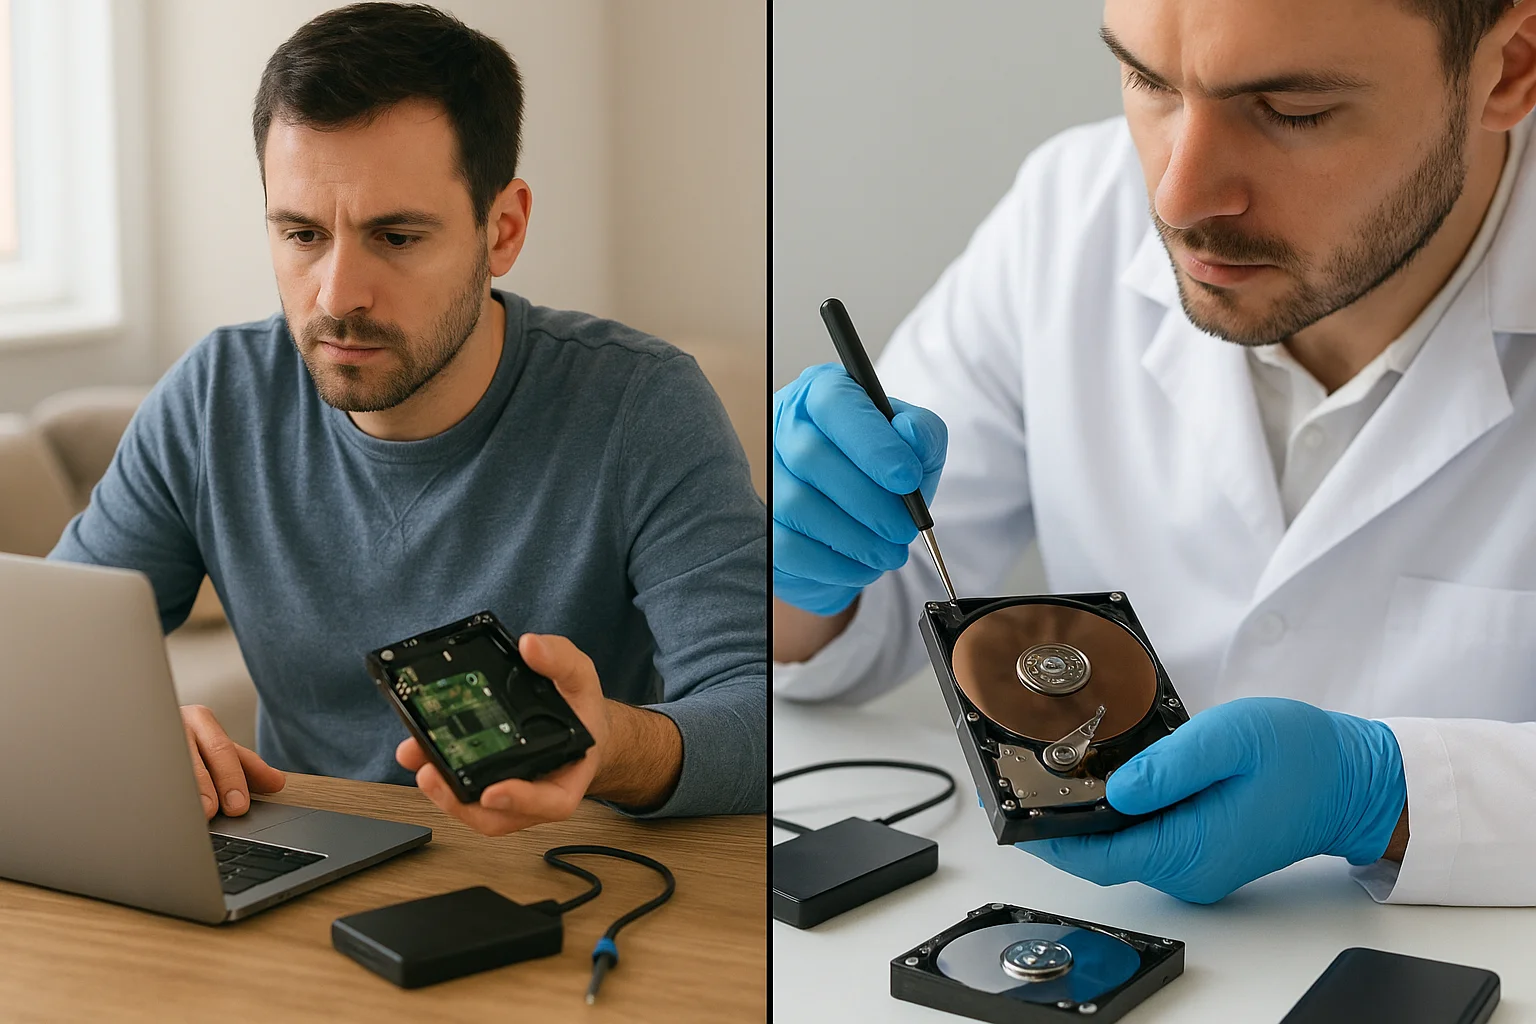
Physical damage is one of the most common causes of data loss on SD cards. Because these cards are small and portable, they are susceptible to being dropped, bent, or exposed to water and extreme temperatures. Even a minor physical impact can damage the internal components and make the data inaccessible.
Another significant risk is file corruption. This can happen when the SD card is improperly ejected from a device or if the device loses power during a file transfer. Corruption may cause files to become unreadable or the entire card to fail.
Wear and tear also play a role. SD cards have a limited number of read/write cycles. Over time, frequent usage can degrade the memory cells, increasing the chance of errors or data loss.
Accidental deletion is surprisingly common. It’s easy to mistakenly delete files or format the entire card without realizing it. Unlike traditional hard drives, many SD cards don’t have a recycle bin or trash folder, making recovery more difficult.
Malware infections can also affect SD cards, especially when cards are used interchangeably between devices or connected to infected computers. Malware can corrupt files, encrypt data for ransom, or delete files silently.
Finally, compatibility issues between different devices or operating systems can sometimes cause problems with reading or writing to an SD card, leading to data loss or corruption.
By being aware of these risks, you can better protect your data and understand the importance of regular backups.
Different Methods to Backup Data on an SD Card
Backing up data from an SD card can be done through several methods, each with its own advantages and ideal use cases. Choosing the right method depends on the amount of data, frequency of backups, and your comfort with technology.
1. Manual Copy and Paste
The simplest and most direct method is to manually copy files from the SD card to another storage device such as a computer’s hard drive or an external USB drive. This method requires no special software and works well for occasional backups or small amounts of data. Simply insert the SD card into your computer, open the card folder, and drag or copy files to a chosen backup location.
2. Using Backup Software
For more automated and reliable backups, dedicated backup software is a better option. These programs can schedule regular backups, verify data integrity, and even compress backup files to save space. Popular software like EaseUS Todo Backup, Acronis True Image, or free options such as FreeFileSync offer user-friendly interfaces and advanced options like incremental backups, which only copy changed or new files since the last backup.
3. Creating a Full Disk Image
This advanced method involves creating an exact byte-for-byte copy of the entire SD card, including hidden system files and partitions. Tools like Win32 Disk Imager or ApplePi Baker allow you to create a full image backup (also called a disk clone or ISO). This is especially useful if you want to restore the SD card to an exact previous state or recover from severe corruption.
4. Cloud Backup Services
Uploading your SD card data to cloud storage providers such as Google Drive, Dropbox, or OneDrive provides an offsite backup solution. Cloud backups protect your files from physical damage or theft of the SD card itself. Many cloud services offer automatic syncing apps that can monitor folders and upload new or changed files automatically, providing continuous backup without manual intervention.
5. Using Mobile Backup Apps
For SD cards used in smartphones or cameras, mobile backup apps can simplify the process. Apps like Google Photos or Samsung Smart Switch allow wireless backup of photos and videos from the SD card directly to cloud storage or a PC without needing cables or card readers.
6. Network Attached Storage (NAS)
For users with a home network setup, backing up SD card data to a NAS device is a powerful option. NAS devices provide centralized storage accessible by multiple devices. Backups can be automated using sync software or scheduled scripts, enabling secure, large-capacity backups without manual effort.
Each of these methods offers a balance between ease of use, control, and data security. Assess your needs carefully to select the method or combination of methods that best fits your data backup strategy.
How to Backup Data Manually from an SD Card
Manually backing up data from an SD card is a straightforward process that doesn’t require any special software or technical skills. This method is ideal for quick, one-time backups or for users who prefer full control over what is copied and where.
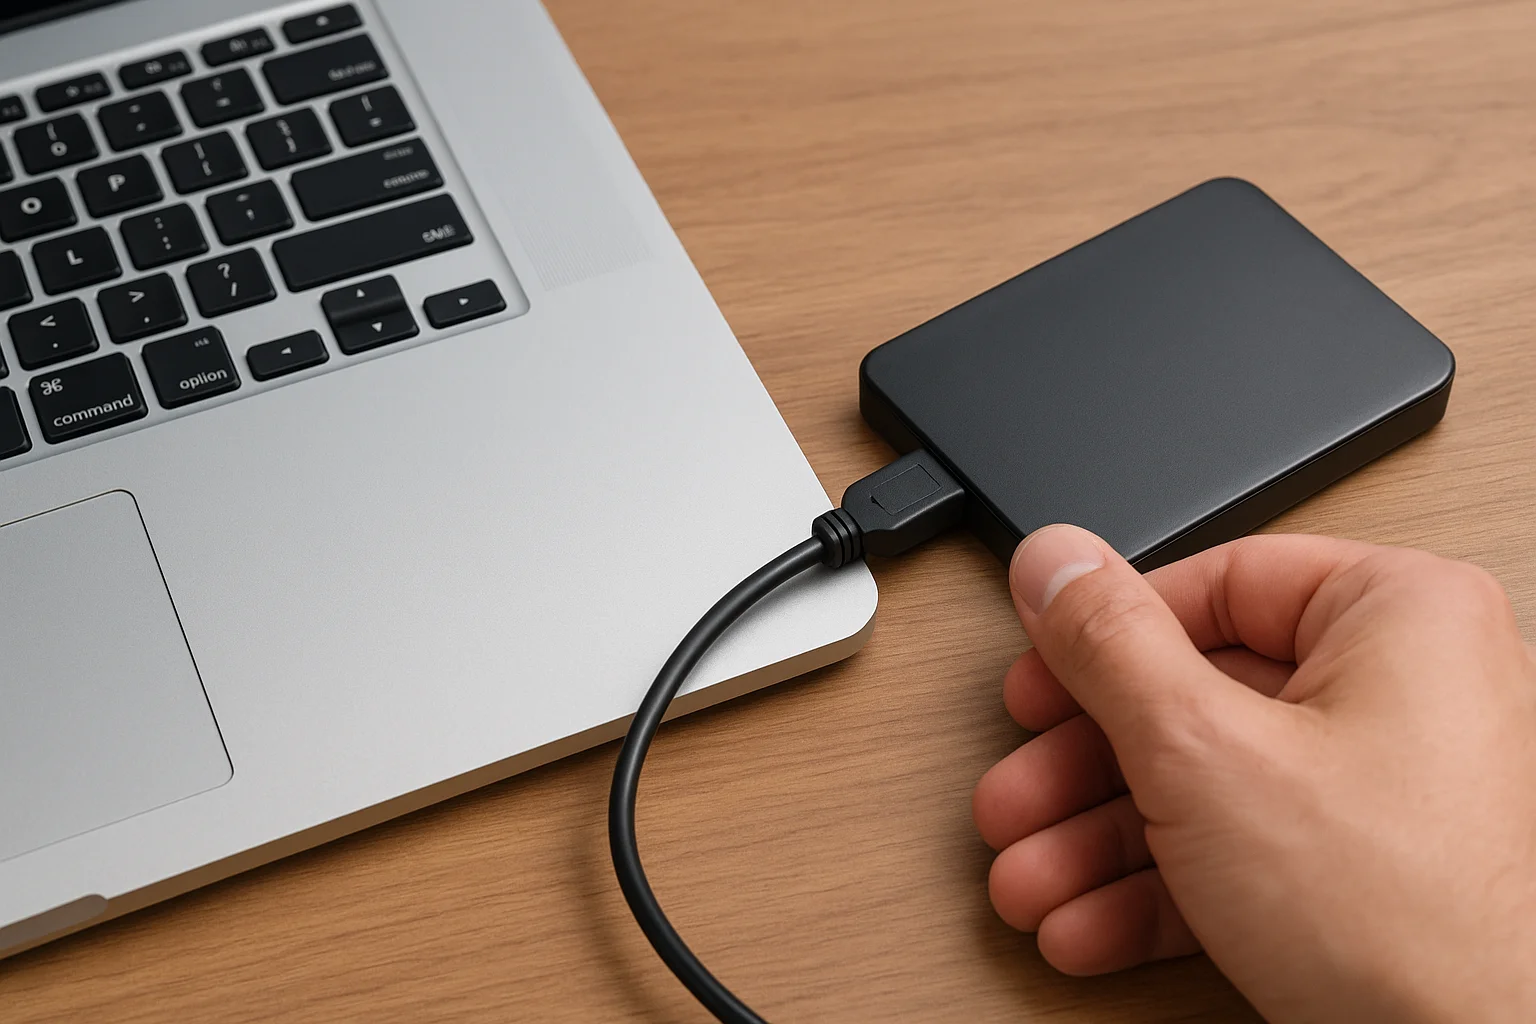
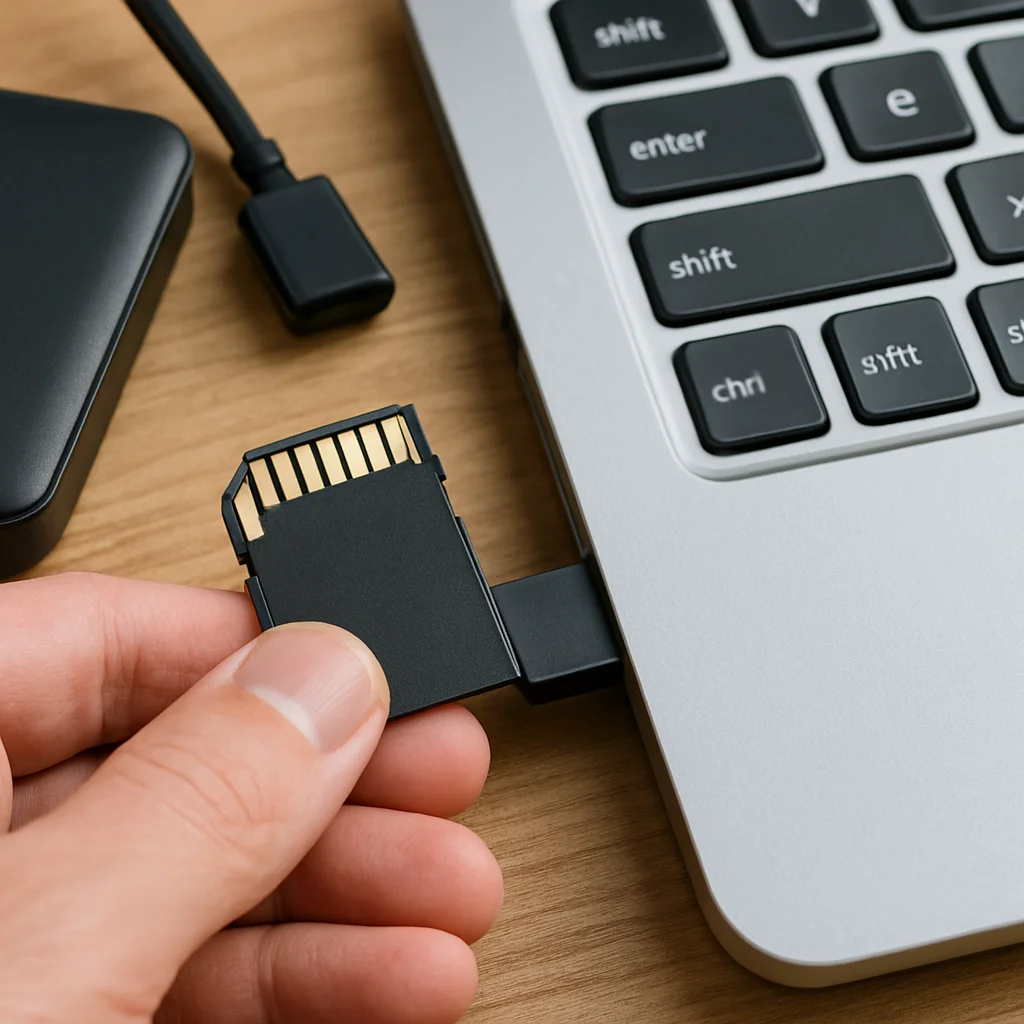
Step 1: Insert the SD Card into Your Computer
Use an SD card slot on your laptop or desktop, or connect an external card reader via USB. Once connected, your operating system should recognize the SD card automatically and assign it a drive letter (Windows) or mount it as a volume (macOS).
Step 2: Open the SD Card Folder
Navigate to the SD card folder through your file explorer. On Windows, open File Explorer and select the drive representing your SD card. On macOS, open Finder and select the SD card under “Devices.”
Step 3: Select the Files and Folders to Backup
You can choose to backup all data or select specific files and folders. To backup everything, simply select all contents of the SD card by pressing Ctrl + A (Windows) or Cmd + A (macOS). For selective backup, choose only the files you need.
Step 4: Copy the Files
Right-click the selected files and choose Copy, or use keyboard shortcuts Ctrl + C (Windows) / Cmd + C (macOS).
Step 5: Choose a Backup Location
Decide where you want to store your backup. This could be an internal hard drive folder, an external USB drive, or a network storage location. Make sure the destination has enough free space to hold all copied files.
Step 6: Paste the Files
Navigate to the chosen backup location, right-click and select Paste, or press Ctrl + V (Windows) / Cmd + V (macOS). The copying process will begin, and its duration depends on the volume and size of your files.
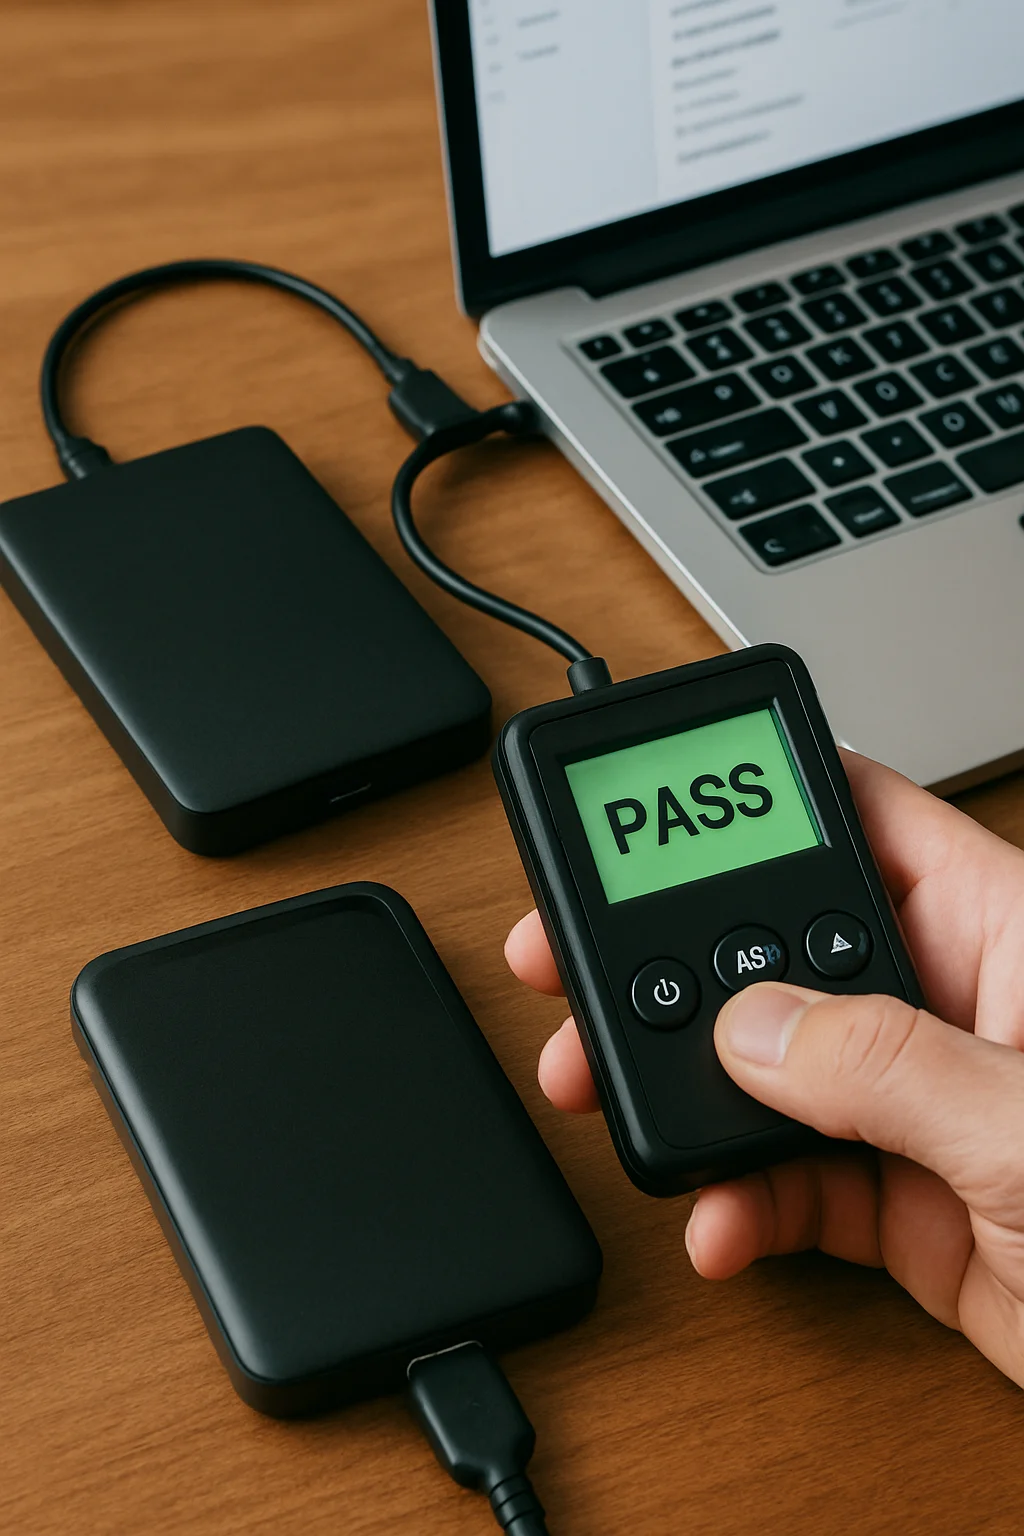
Step 7: Verify the Backup
After the copying completes, it’s important to check that all files have been successfully copied. Browse through the backup folder and open a few files to ensure they are intact and accessible.
Additional Tips:
- Always safely eject the SD card from your computer after the backup to avoid corruption. Use the “Eject” or “Safely Remove Hardware” option.
- For large backups, consider copying data in smaller batches to reduce the risk of errors during transfer.
- Maintain a clear folder structure in your backup location to easily find files later.
- If you plan to backup frequently, consider creating dated folders to keep track of different versions.
Tips for Organizing and Managing Your Backup Files
Effective organization and management of your backup files are just as important as creating backups themselves. Properly structured backups make it easier to find and restore files when needed and help prevent accidental overwrites or data loss.
1. Use a Clear and Consistent Folder Structure
Organize your backup files into well-defined folders that reflect their content or origin. For example, you can create separate folders for Photos, Documents, Videos, or by project name. This logical arrangement speeds up file retrieval and reduces confusion.
2. Include Dates in Folder or File Names
Incorporate the date of the backup in folder or file names using a consistent format like YYYY-MM-DD. This practice helps you keep track of multiple backup versions and easily identify the most recent or specific snapshots.
3. Avoid Using Special Characters in File Names
Special characters like /, \, *, ?, %, or # can cause errors or incompatibilities across different operating systems or backup software. Stick to letters, numbers, dashes, and underscores to ensure your files remain accessible everywhere.
4. Maintain Multiple Backup Versions
Whenever possible, keep several versions of your backups instead of overwriting the same files repeatedly. This protects you against accidental deletion or corruption that might have occurred unnoticed in the latest backup.
5. Use Descriptive File Names
Instead of generic names like IMG_001.jpg, rename important files to something meaningful, for example Vacation_Paris_2024.jpg. Descriptive names improve searchability and reduce the chance of confusion.
6. Regularly Review and Clean Your Backup Storage
Over time, backups can accumulate and consume a lot of storage space. Schedule periodic reviews to delete outdated or unnecessary backups while ensuring critical files remain protected.
7. Keep Backups in Multiple Locations
Avoid keeping all backups on a single device or drive. Use at least two different storage locations—such as an external hard drive and cloud storage—to protect your data against hardware failure, theft, or natural disasters.
8. Document Your Backup Strategy
Maintain a simple log or spreadsheet detailing what was backed up, when, where, and by which method. This documentation can be invaluable for troubleshooting or when you need to recover specific files quickly.
By implementing these tips, you will create a more robust and manageable backup system that safeguards your data efficiently and saves you time when restoration is needed.