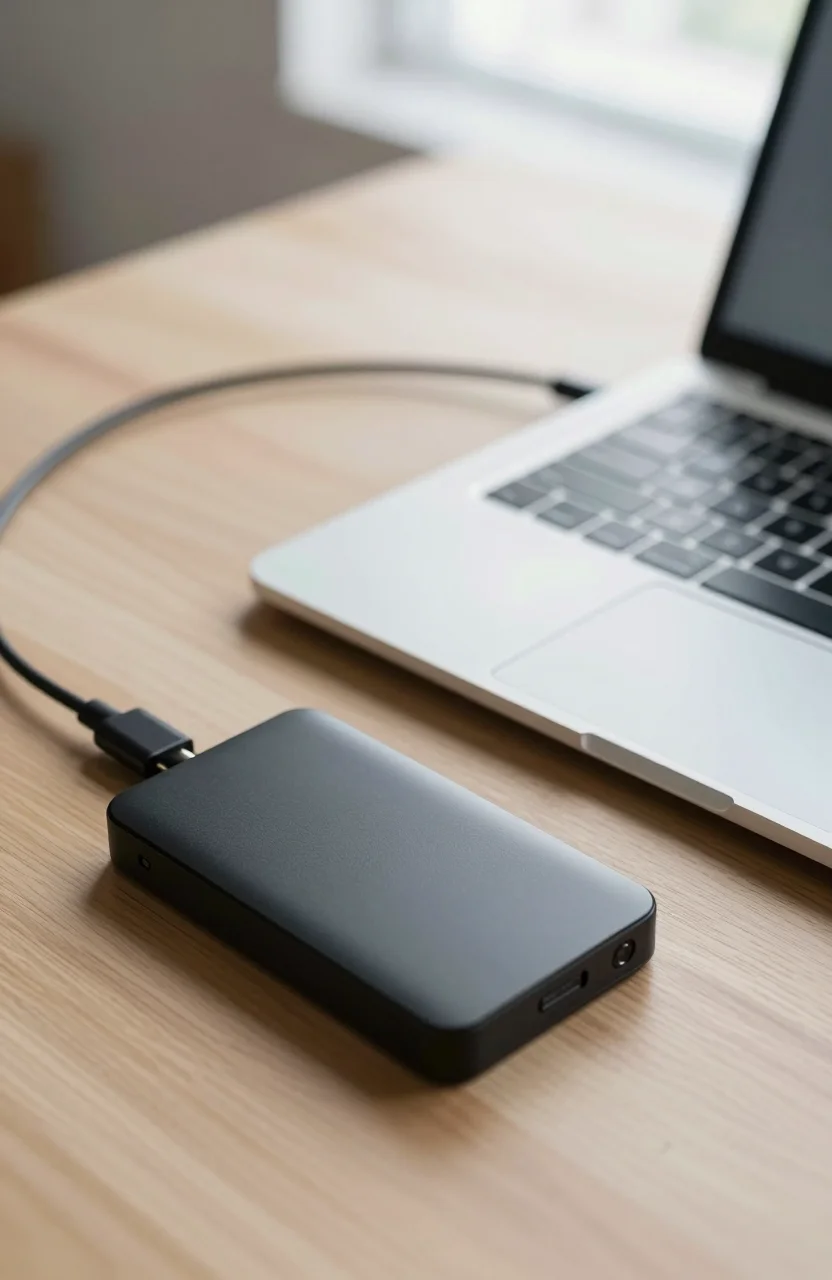
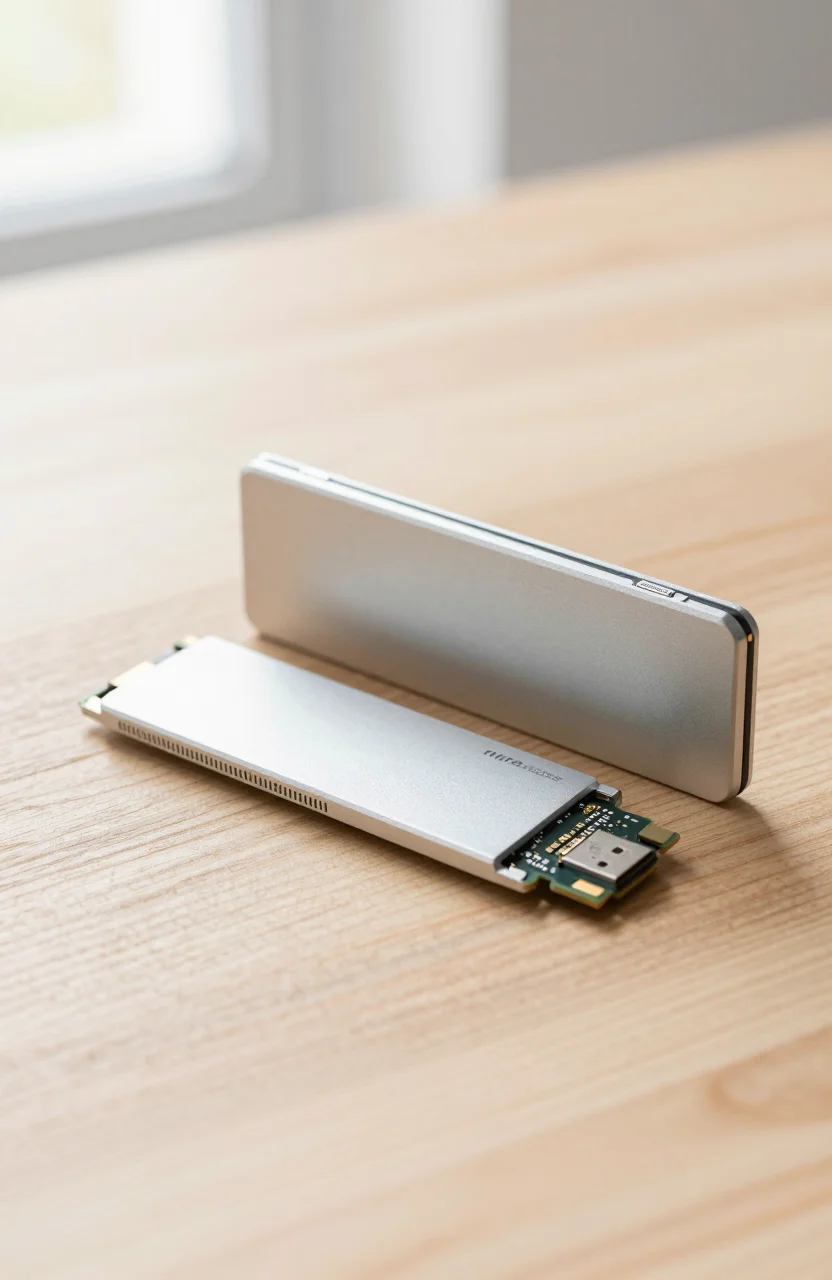
A finished portable SSD is convenient. A DIY NVMe enclosure is usually cheaper per gigabyte, and you can reuse the same box when you upgrade the drive. In 2026 the gap between a retail T7-class stick and a bare NVMe SSD dropped into a plastic or aluminum shell is still large enough that builders keep asking the same question: buy ready-made, or assemble?
If you already own a spare M.2 2280 drive, the answer is almost always assemble. Start with a proven shell like the UGREEN 10Gbps enclosure, confirm your host port, then match cable and thermal expectations to how you actually copy files. Photographers moving a weekend of RAW files, students shifting project folders between campus and home, and editors parking proxies all benefit from the same pattern: spend once on the interface, spend again only when capacity runs out.

- USB 3.2 Gen 2 enclosure for M.2 NVMe SSDs up to 10 Gbps
- Build a DIY portable SSD for Mac, PC, and consoles
- Aluminum shell with tool-free install on many kits
- Check current Amazon pricing and drive compatibility
DIY enclosure vs a finished portable SSD
Finished drives (Samsung T7 line, SanDisk Extreme, Crucial X9, and similar) win on polish: rubberized shells, bundled software, and a cable that usually works on day one. They also lock you into one capacity. When you need more space, you buy another complete unit.
A DIY enclosure flips that model. You buy the interface once, then drop in whatever NVMe fits your budget from the live SSD price board. Capacity jumps are cheaper. Spare laptop drives get a second life. The trade-off is on you: formatting, label discipline, and checking that the enclosure supports your drive length (most home kits target 2280; shorter 2242/2260 drives may need an adapter or a different shell).
For travel kits where drop protection matters more than cost per GB, a finished rugged drive still makes sense. For desk docks, media handoffs, and expanding a home archive, DIY usually wins. Our roundup of portable SSDs under $150 remains useful when you want a sealed unit; this guide is for the build-it path.
USB Gen2 10Gbps vs Gen2x2 20Gbps
Marketing banners shout megabytes per second. Your host port decides what you actually see.
USB 3.2 Gen2 (10Gbps) is the safe default in 2026. It works on most modern laptops, docks, and phones with USB-C data. Sustained copies of large media often land in the 700-1000 MB/s range when the drive and cable cooperate. The UGREEN 10Gbps and ORICO 10Gbps shells sit in this lane. Street prices often land near the mid tens of dollars for the enclosure alone - check live listings rather than trusting a screenshot.
USB 3.2 Gen2x2 (20Gbps) can roughly double peak throughput on hosts that expose a true Gen2x2 or compatible high-bandwidth USB4/Thunderbolt path. The UGREEN 20Gbps Gen2x2 enclosure is the step-up pick when your motherboard or laptop actually negotiates that mode. On a plain 10Gbps Type-C port, the same enclosure typically falls back and behaves like Gen2. Paying for Gen2x2 without a matching host is wasted money.
Quick check before you buy the faster box: look up your laptop's USB-C controller, or run a short CrystalDiskMark or diskspd copy on a known-good Gen2x2 drive if you already own one. If you only ever plug into a dock that tops out at 10Gbps, stay on Gen2 and spend the difference on a larger NVMe.
Tool-free installs, thermals, and cables
Tool-free lids with a sliding tray or clip save time when you swap drives often. Screw-down shells feel more secure for a drive that lives in a backpack for months. Both styles work; pick based on how often you open the case.
Thermals matter more than most product pages admit. A tiny aluminum body without airflow will throttle a high-power Gen4 NVMe during long sequential writes. For photo dumps and document archives you may never notice. For multi-hour 4K footage copies, leave the enclosure on a hard surface, avoid stacking it under a warm laptop, and prefer a metal shell with some mass. If an enclosure includes a thin thermal pad, seat the drive firmly against it.
Cables are not optional accessories. A short, certified USB-C to C cable rated for the enclosure's generation beats a random charging cable from a drawer. Avoid USB-A adapters when you need peak speed; many A ports are Gen1 (5Gbps) even when the enclosure is Gen2. Keep the stock cable in the same pouch as the enclosure so you do not mix generations later.
Drive pairing tips
Any healthy NVMe from the site's SSD listings can drop into a compatible enclosure. DRAM-less budget drives are fine for light file moves. For heavy creative work, prefer a mid-range TLC drive with solid sustained writes. You do not need a sealed Samsung T7 if you already own spare internal NVMe stock - pair what you have, then upgrade the stick later without replacing the shell.
Form factor confusion still trips people up. If you are unsure whether your workflow wants a pocket enclosure, a dual-bay DAS, or a finished stick, read which external SSD form factor fits your workflow before ordering parts.
Which enclosure to buy in 2026
Use this short decision path:
- Default build: UGREEN 10Gbps plus a 1TB or 2TB NVMe you already like. Best balance of price, compatibility, and reviews.
- Need more headroom and a matching host: UGREEN 20Gbps Gen2x2. Confirm the port first.
- Budget second shell or spare kit: ORICO 10Gbps. Fine for desk use and light travel when Gen2 is enough.
Skip exotic Thunderbolt-only boxes unless you already live in a Thunderbolt dock ecosystem and will use that bandwidth weekly. For most Windows and mixed USB-C users, Gen2 or Gen2x2 USB covers the portable SSD job without drama.
Build once, upgrade the drive later, and keep the enclosure. That is the whole point of DIY portable storage in 2026.