Upgrading a laptop storage drive is one of the highest-return improvements you can make in 2026. Whether you are pulling out a spinning hard drive and dropping in a SATA SSD, or replacing an older SATA SSD with a fast NVMe drive, the process is within reach for anyone comfortable opening a laptop. This guide covers everything: checking compatibility, choosing the right drive, cloning your data, and fixing boot issues after the swap.
Check M.2 Slot Compatibility Before Ordering Anything
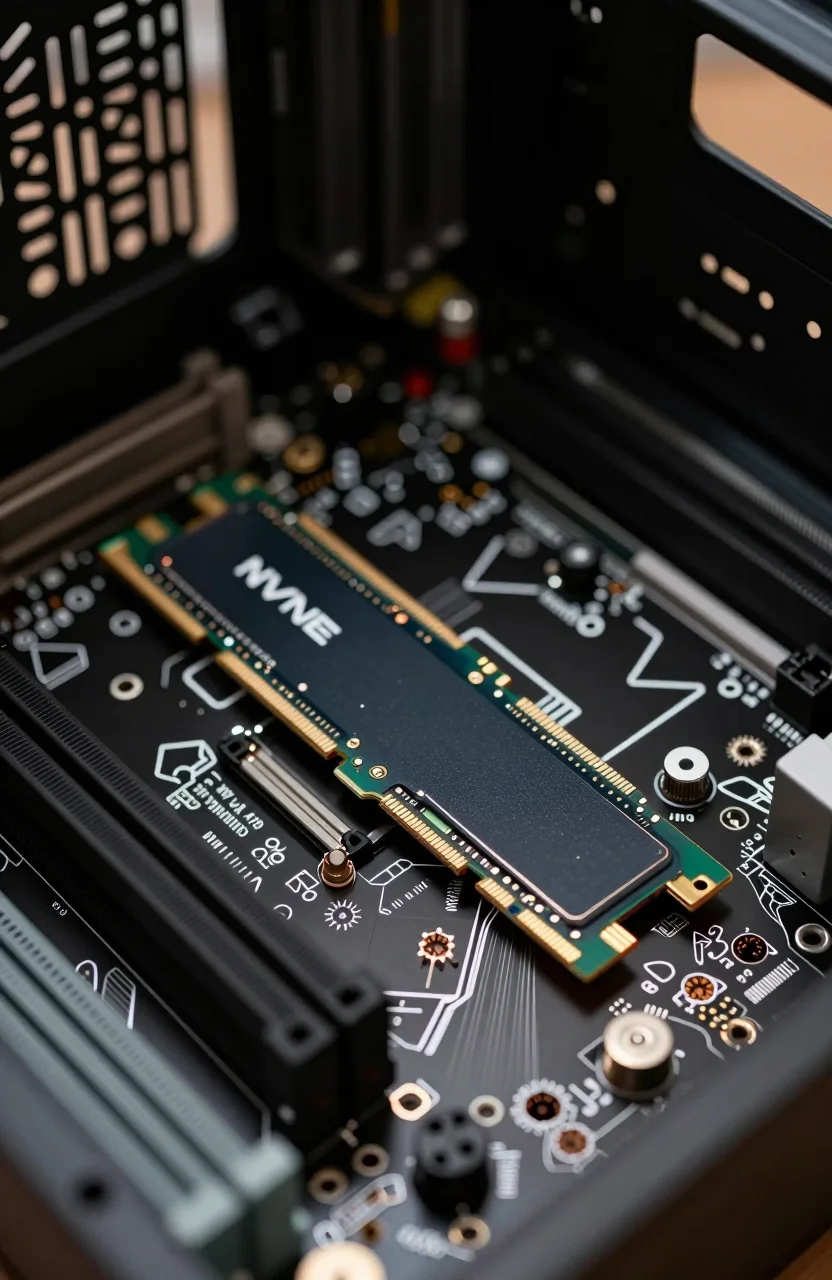
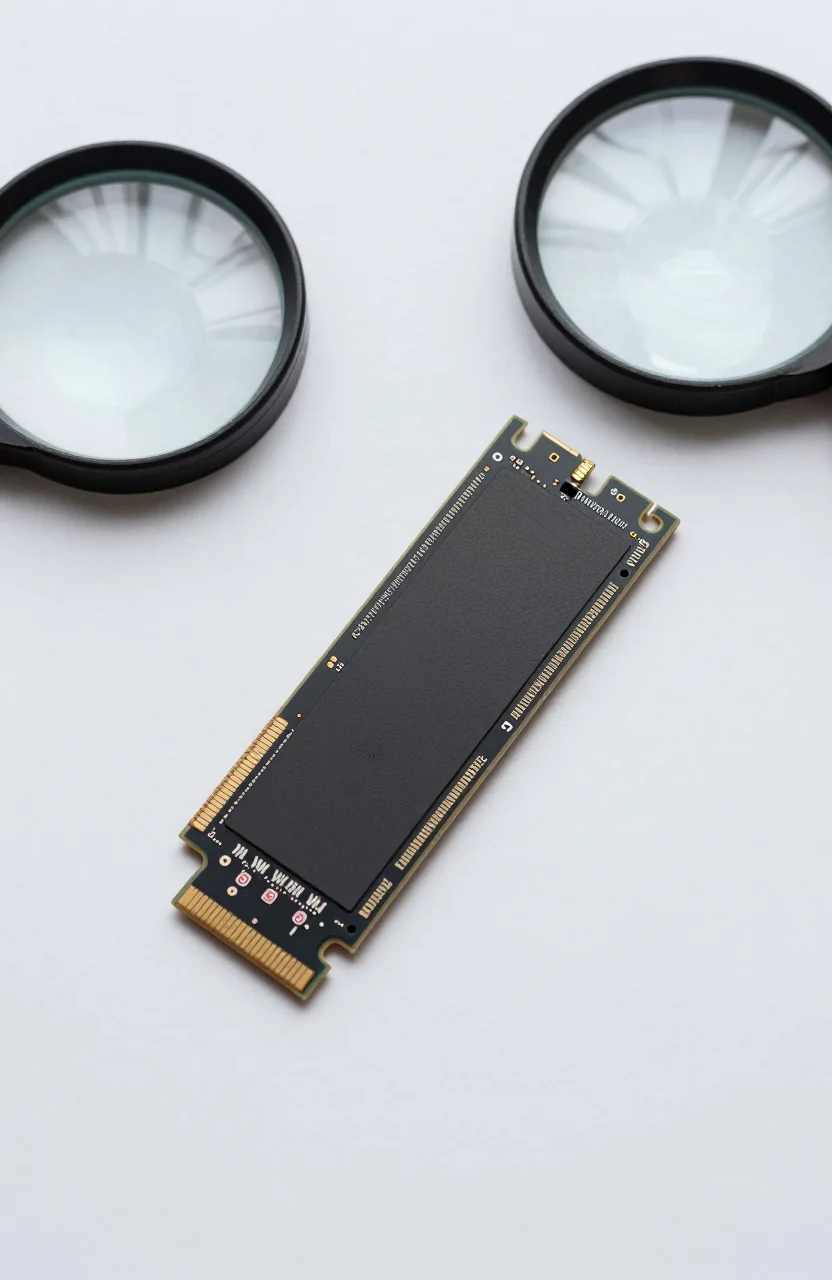
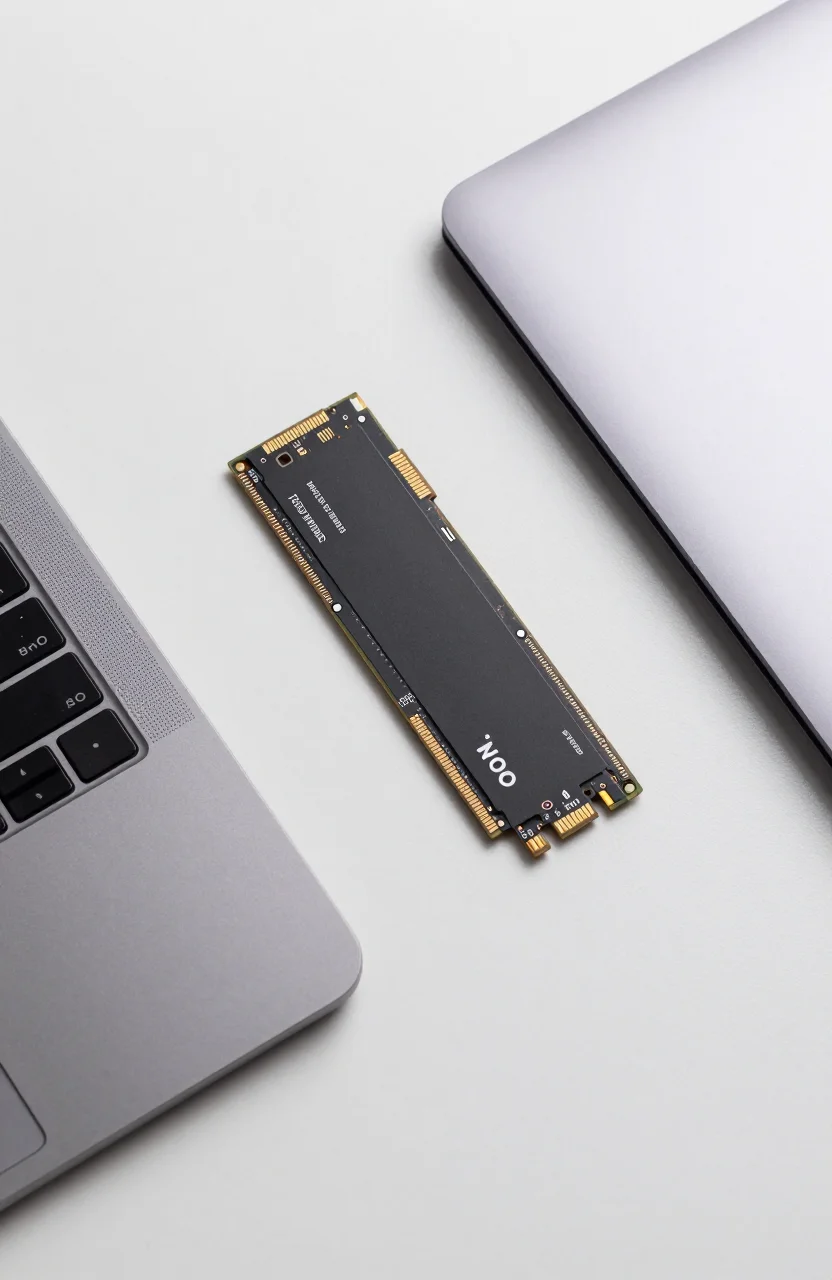
Not all M.2 slots are equal. Before spending a dollar, confirm three details about your laptop's M.2 slot: the key type (B, M, or B+M), the physical length it accepts (2230, 2242, 2260, or 2280 mm), and whether it supports NVMe or SATA protocol only.
The most reliable method is downloading the official service manual for your laptop model from the manufacturer's support site. The storage section will specify exactly what fits. You can also use free utilities like HWiNFO64 or CPU-Z on Windows to read the current drive's interface protocol. If the installed drive shows SATA in the interface column, the slot may physically accept only SATA - even if it is an M.2 form factor.
Budget laptops from 2017 to 2021 frequently shipped with M.2 SATA slots, not NVMe. Buying an NVMe-only drive for one of these machines means it simply will not be detected at boot. 2280 is the standard length covering the vast majority of consumer laptops. Some thin and light models use 2242 or 2230 - the latter is common in newer Dell, Lenovo ThinkPad, and Microsoft Surface models. Measure the slot or check the manual before buying.
Which Drive Should You Buy in 2026?
For NVMe upgrades, two drives stand out in the budget tier. The Crucial P3 Plus 1TB uses QLC NAND with a healthy SLC write cache, keeping everyday performance consistent at a very low price. Sequential reads hit around 5,000 MB/s, which delivers a massive improvement over any spinning drive for booting Windows, launching apps, and loading browser sessions.
The WD SN770 1TB is a step up. It uses TLC NAND and a capable controller that keeps sustained write speeds solid even when the cache fills. If you regularly move large files or use the laptop for video editing or software development, the SN770 is worth the modest price difference. Check current prices on the SSD comparison page.
If your slot is M.2 SATA-only, the Crucial MX500 1TB is the clear recommendation. It delivers reliable 560/510 MB/s sequential speeds - four to five times faster than a typical 5400 RPM laptop hard drive. For SATA upgrades, this is a proven, widely available choice.
Use the cost-per-GB calculator to compare 500 GB, 1 TB, and 2 TB pricing before deciding on capacity. Most users replacing a factory 256 GB drive will find 1 TB provides ample headroom for the next several years.
How to Clone Your Drive Without Reinstalling Windows
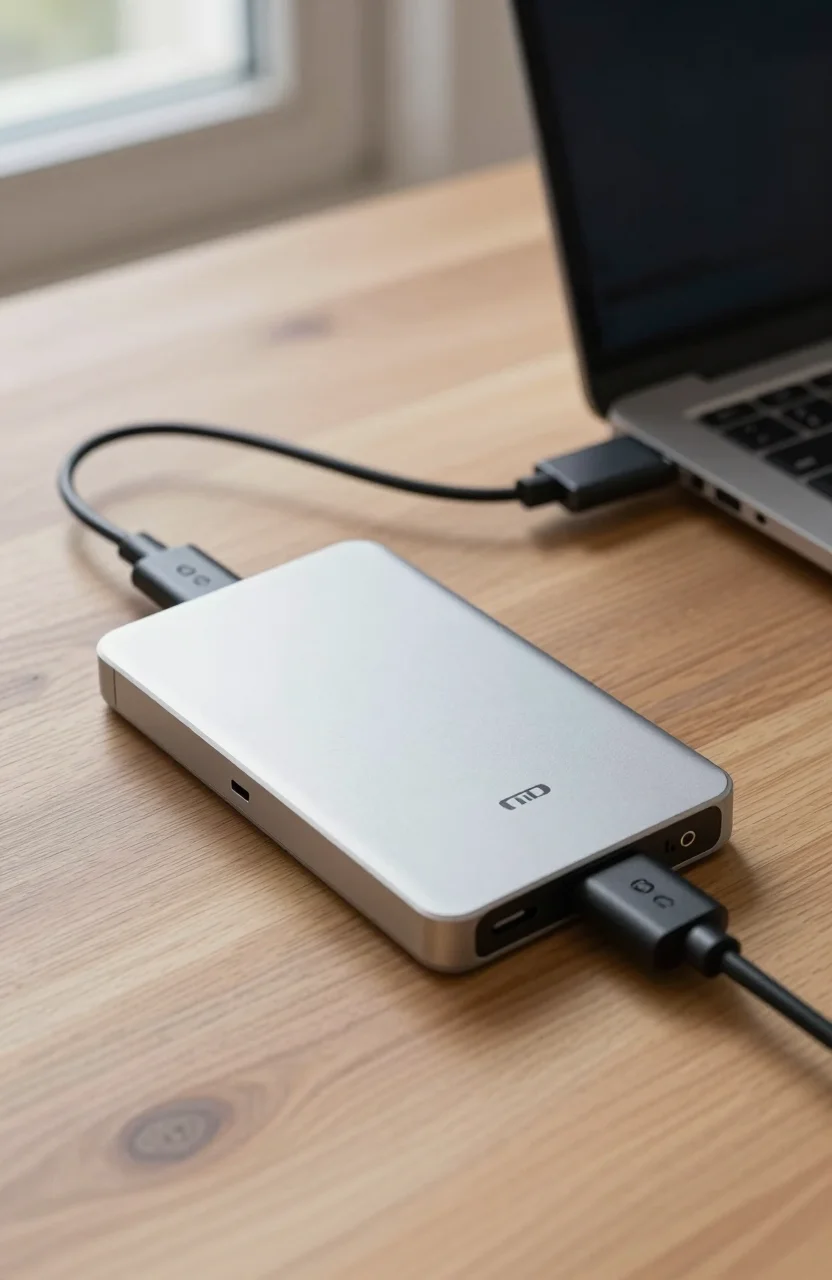
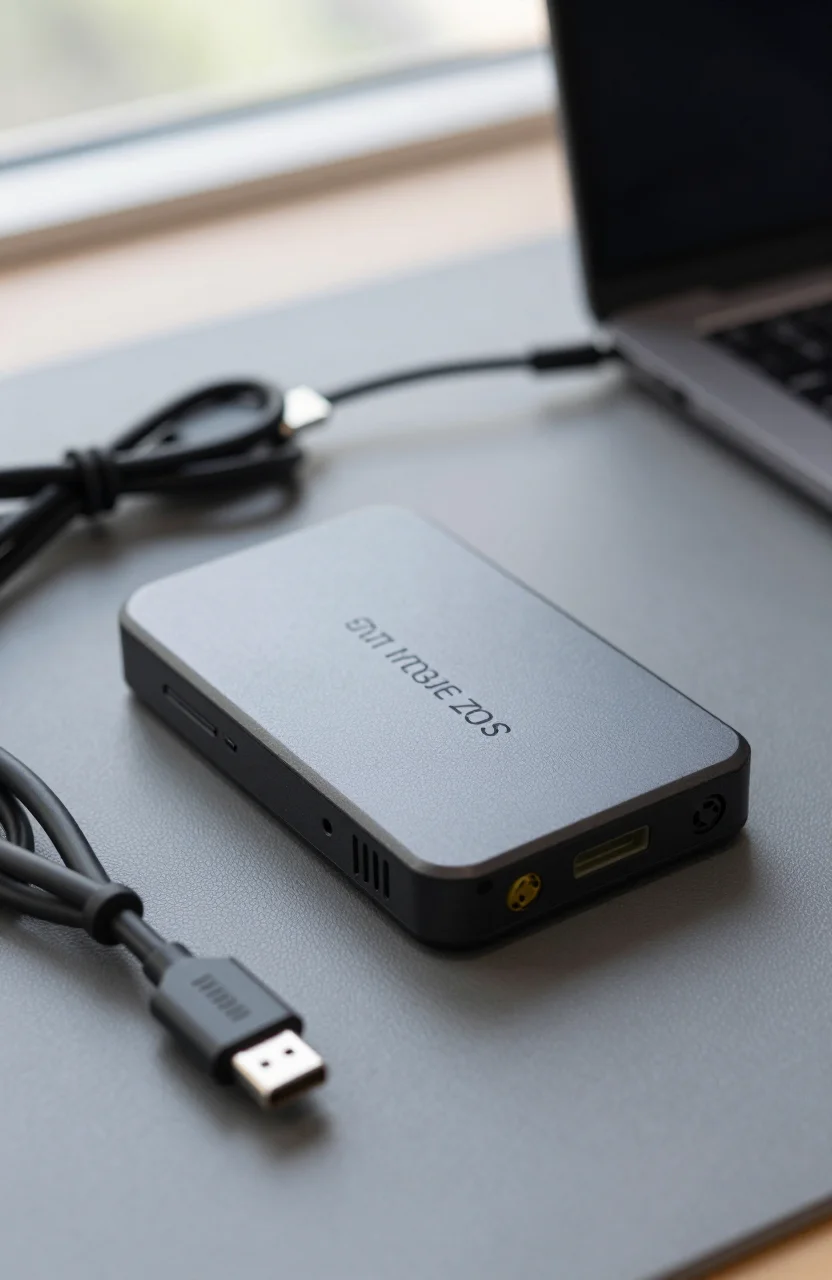
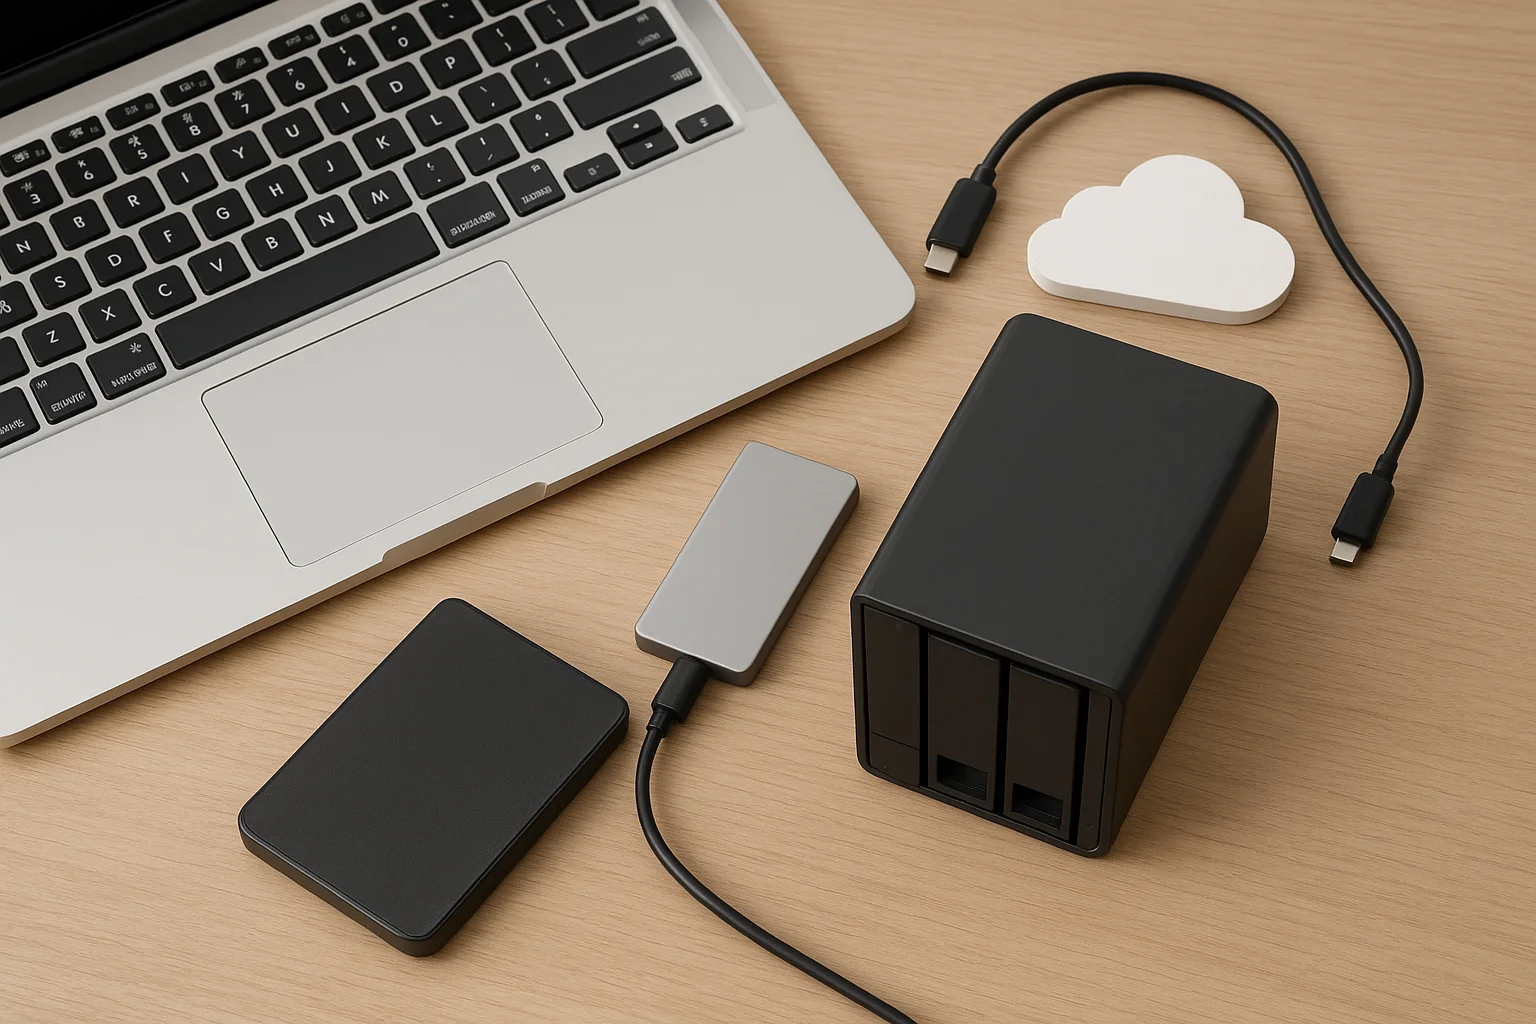
Cloning copies the full contents of your current drive - Windows, drivers, applications, and personal data - onto the new drive. No reinstall required. To clone while the source drive is still installed in the laptop, you need an external USB enclosure for the new M.2 drive. A Sabrent USB-C NVMe enclosure lets you connect the new drive via USB and clone to it before swapping it into the laptop.
Three tools handle cloning reliably at no cost:
- Macrium Reflect Free - Windows only, clean interface, handles GPT partitions and BitLocker without issues. The most accessible option for most users.
- Clonezilla - Bootable Linux tool that works regardless of OS. Slightly steeper learning curve but extremely reliable for sector-level copies.
- Manufacturer cloning software - Crucial and WD both bundle Acronis True Image free with drive purchase. It handles partition alignment automatically and is the easiest option if you are buying one of those brands.
The process: connect the new drive via the USB enclosure, open the cloning tool, select the internal drive as source and the USB-connected drive as destination, and run. For a 256 GB or 512 GB source, the clone completes in 20 to 40 minutes depending on drive speed and data volume.
Swapping the Drive and Fixing Boot Order in BIOS
Once cloning finishes, shut down the laptop and disconnect power. Remove the battery if it is accessible. Open the bottom panel and locate the M.2 slot - most are secured with a single Phillips screw. Remove the old drive, insert the new one at a slight angle into the slot, press it flat, and replace the screw. Close the panel.
Power on the laptop and enter the BIOS setup immediately - typically F2, F12, Delete, or Escape depending on the manufacturer. Navigate to the Boot section and verify the new drive appears at the top of the boot order. Some systems detect it automatically; others require you to manually promote it. Save and exit.
Windows will start from the new drive. If you see a recovery environment or a blue screen, re-enter BIOS and confirm the boot device selection. This is the most common issue with cloned installs and almost always resolves with a simple boot order correction.
When a SATA SSD Is the Right Choice
The performance gap between SATA and NVMe is real in sequential benchmarks but largely invisible in daily use for office work, web browsing, and media tasks. If your slot is SATA-only, you are not missing a life-changing upgrade - the jump from a hard drive to any SSD is by far the larger gain. A SATA SSD will make a slow laptop feel like a different machine.
The exception is intensive workloads: video editing with large files, software compilation, or running multiple virtual machines. These tasks benefit noticeably from NVMe's higher sustained throughput. For everyday use, SATA is perfectly capable and represents excellent value per gigabyte.
Post-Upgrade Checklist
After the system boots successfully, run CrystalDiskInfo to confirm the new drive reports good health and that TRIM is enabled. In an admin command prompt, run fsutil behavior query DisableDeleteNotify - a result of 0 means TRIM is active, which is what you want for SSD longevity.
Check that the partition is using the full capacity. Cloning sometimes does not expand the partition automatically. Open Disk Management, right-click the main system partition, and choose Extend Volume if unallocated space is shown after it. This is a one-click fix that takes under a minute.
Consider putting the old drive in a USB enclosure and using it as a portable backup drive. A used SATA SSD or laptop hard drive in an inexpensive USB case gives you an instant external backup without any additional spending. For more upgrade options and current pricing comparisons, see our best 1 TB NVMe under $80 in 2026 roundup.